# How to add privacy-friendly analytics to NextTS
### Overview
Privacy-friendly web analytics track a website's usage, gathering insightful data from visitors without collecting personal information.
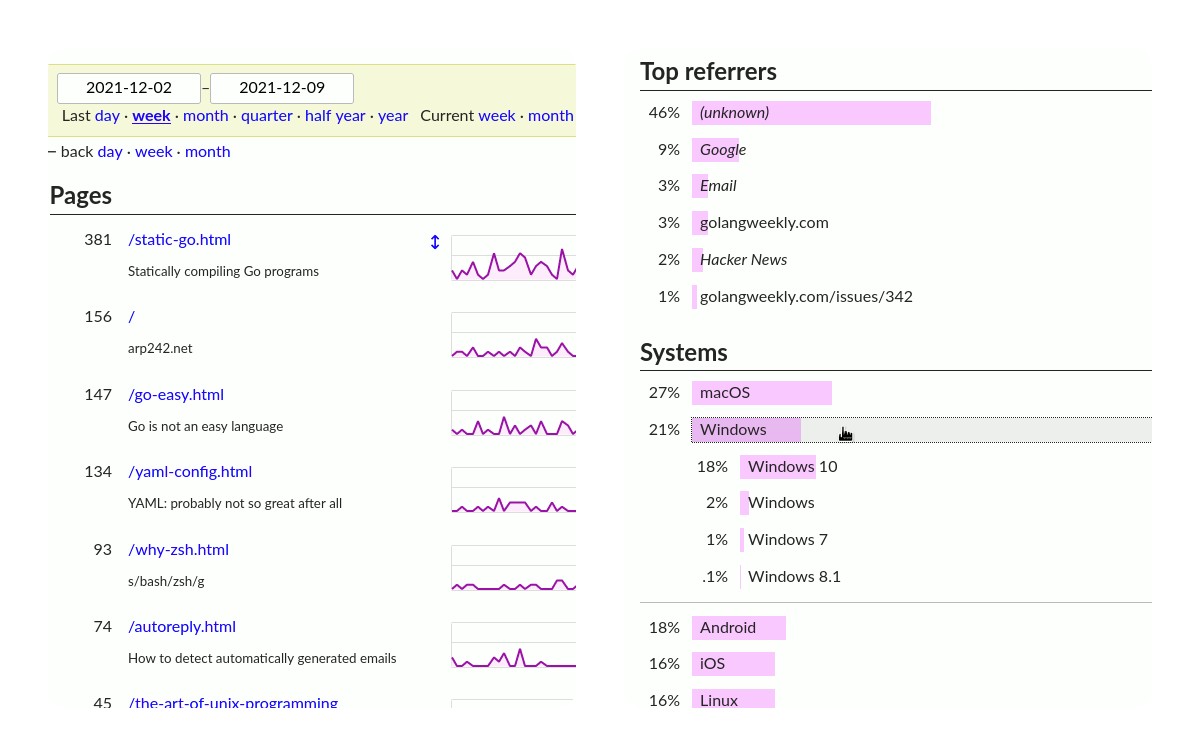
[Goat Counter](https://www.goatcounter.com) is my favorite tool that gets the job done. In this article, we will learn how to set it up and use it on a website that uses NextTS.
GoatCounter Dashboard
✅ Lightweight
✅ easy to use
✅ GDPR compliant
✅ can self-host
✅ hosted free for non-commercial websites
What we are going to do
1. get your Goat counter URL code
2. inject Goat Counter js script
3. Listen for route changes
4. create a useAnalytics custom hook
### 1. Get your Goat counter URL code
by heading over to goatcounter.com/signup and fill-up the form to create your account
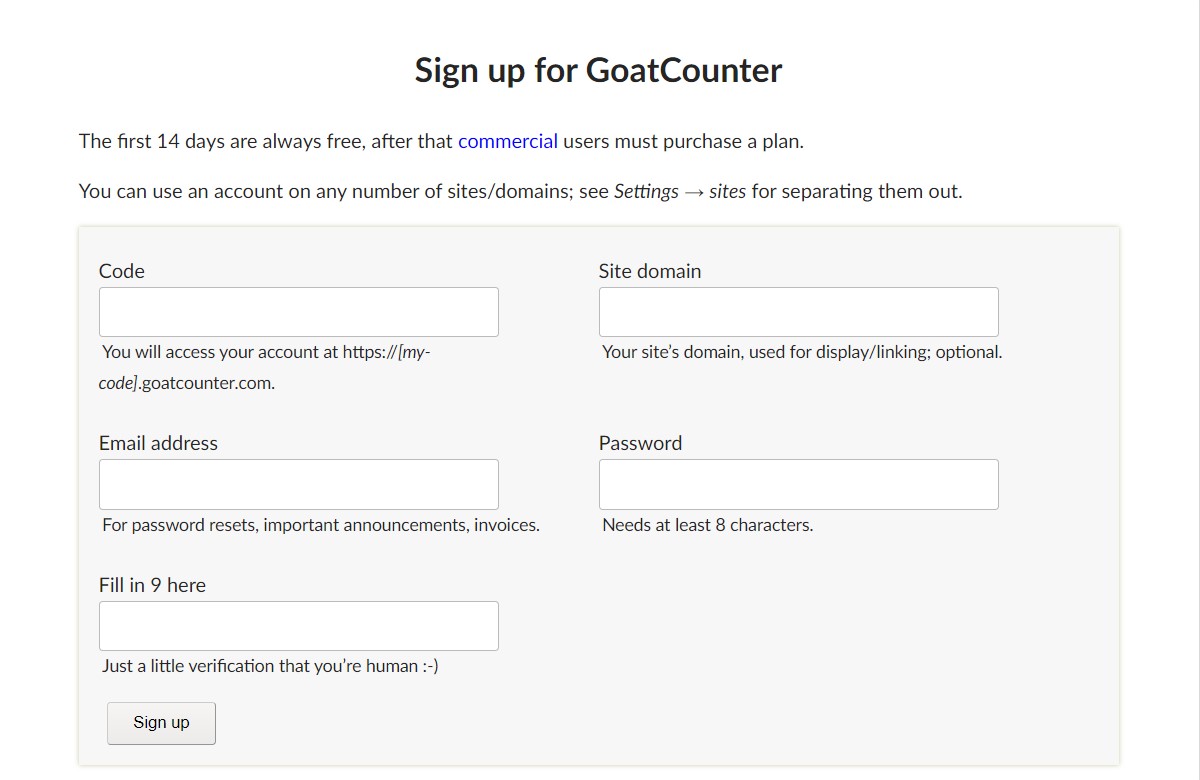
and once you have your **code** save it as an environment variable.
```js
// /.env.local
NEXT_PUBLIC_GOAT_COUNTER_CODE = yoursupersecretcode
```
### 2. Inject Goat counter script
using the [nextJS script](https://nextjs.org/docs/basic-features/script) component. You can place it anywhere you want. I prefer to place it on the [app component](https://nextjs.org/docs/advanced-features/custom-app).
``` js
// pages/_app.tsx
import Script from 'next/script'
...
...
```
💡 the attribute `allow-local` allows requests from local addresses (localhost, 192.168.0.0, etc.) for testing the integration locally. You will have to remove it when done testing.
### 3. Listen for route changes
to inform GoatCounter whenever a user navigates to a different page. [next's router events](https://nextjs.org/docs/api-reference/next/router#routerevents) to the rescue.
```
// src/hooks/useAnalytics.ts
import { useRouter } from 'next/router'
import { useEffect } from 'react'
// make typescript happy
declare global {
interface Window {
goatcounter: any
}
}
export function useAnalyticsInstance() {
const router = useRouter()
useEffect(() => {
const onRouteChangeComplete = () => {
if (window.goatcounter === undefined) return
window.goatcounter.count({
path: location.pathname + location.search + location.hash,
})
}
router.events.on('routeChangeComplete', onRouteChangeComplete)
return () => {
router.events.off('routeChangeComplete', onRouteChangeComplete)
}
}, [router.events])
}
```
We then import this hook into our app component.
```
// src/pages/_app.tsx
...
import { useAnalyticsInstance } from "../hooks/useAnalytics";
function MyApp({ Component, pageProps }: AppProps) {
useAnalyticsInstance();
return (
...
);
}
export default MyApp;
```
### 4. create a useAnalyticsEvent custom hook
to track any action your user takes. Take a look at the following example code that shows the `useAnalyticsEvent` hook in action, tracking the number of times someone clicked the 'count' button.
```js
// src/components/Example.tsx
import React, { useState } from 'react';
import { useAnalyticsEvent } from "../hooks/useAnalytics";
function Example() {
const [count, setCount] = useState(0);
const { trackCustomEvent } = useAnalyticsEvent();
const increment = () => {
setCount(count + 1 );
trackCustomEvent({eventName:'clicked_counter_incrementer',
eventTitle:'increment_counter'
});
}
return (
You clicked {count} times
);
}
```
Here is the implementation!
```js
// src/hooks/useAnalytics.ts
export function useAnalyticsEvent() {
function trackCustomEvent({
eventName,
eventTitle,
}: {
eventName: string
eventTitle?: string
}) {
if (window.goatcounter === undefined) return
// still counting just like we do for route changes
window.goatcounter.count({
path: eventName,
title: eventTitle || eventName,
// only this time the event property is set to true
event: true,
})
}
return { trackCustomEvent }
}
```
### Test
fire up your local server,
go to `yoursuperscretcode`.goatcounter.com
and look for any hits!
The screenshot shows the number of times the count button from the Example code has been clicked

💡 Now that you have tested that everything is working correctly, on the settings page (GoatCounter dashboard ), under the track section, you can ignore your IP from being tracked for dev purposes.
### Acknowledgements
TheItalianDev - [How to add google analytics to nextjs](https://theitaliandev.hashnode.dev/how-to-add-google-analytics-to-nextjs)
### Conclusion
We learned how to set up Goat counter to track the number of page visits, views, and custom events without collecting any personal data from our visitors. Awesome.
Questions? suggestions? let me know in the comments!